RealEstateContent.ai allows Real Estate professionals to create, customize and schedule social media content using AI. In this guide, we’ll walk you through the process of adding custom colors to your posts, ensuring your content stands out and aligns with your unique branding.
Using Preset Color Palettes
Create a Post:
Start by creating a post for Instagram, Facebook, or LinkedIn
Edit the Template:
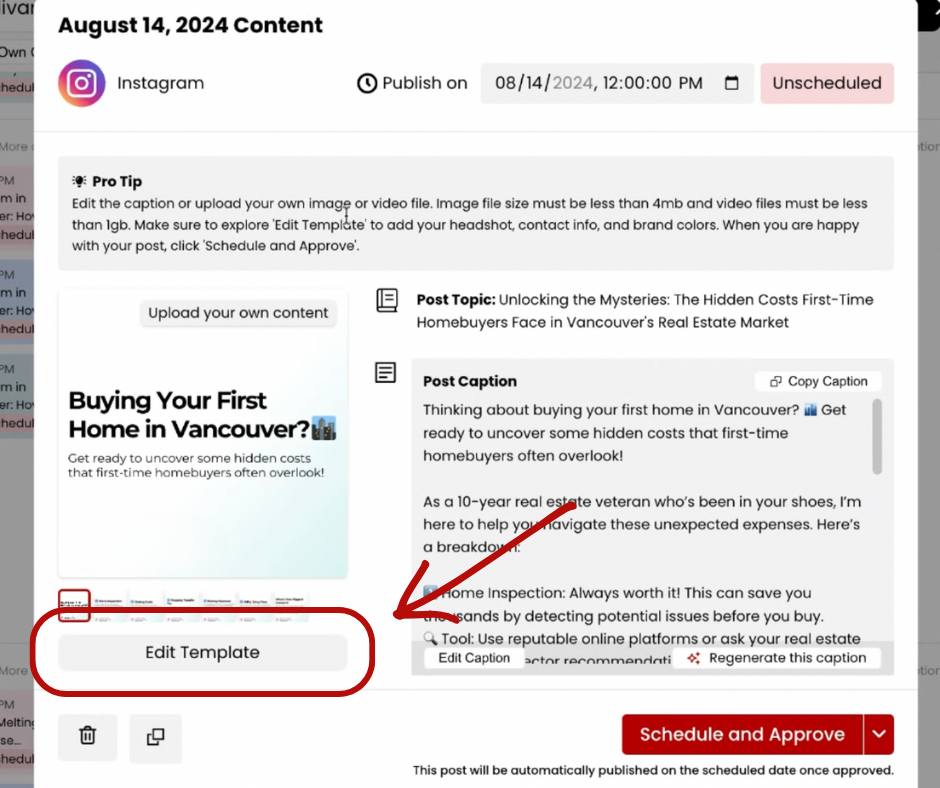
Click on “Edit Template” for the post you want to customize.
Navigate to the “Colors” section.
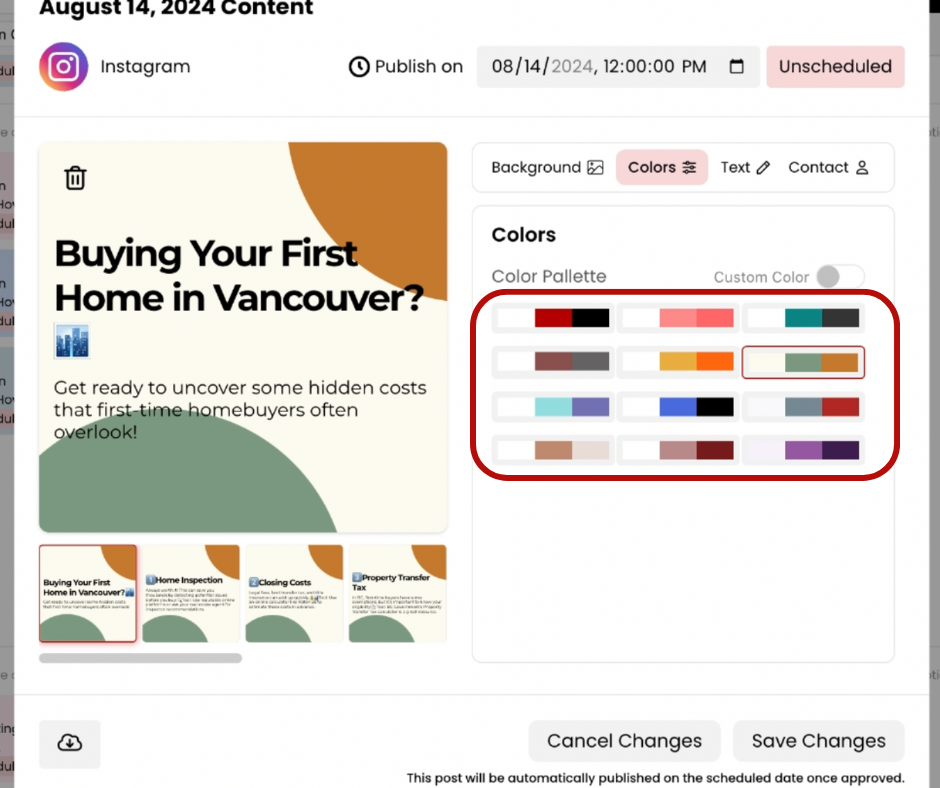
Choose a Preset Palette:
- By default, posts come with the red and black base palettes.
- Select from one of the preselected color palettes available.
- select “Save Changes.”
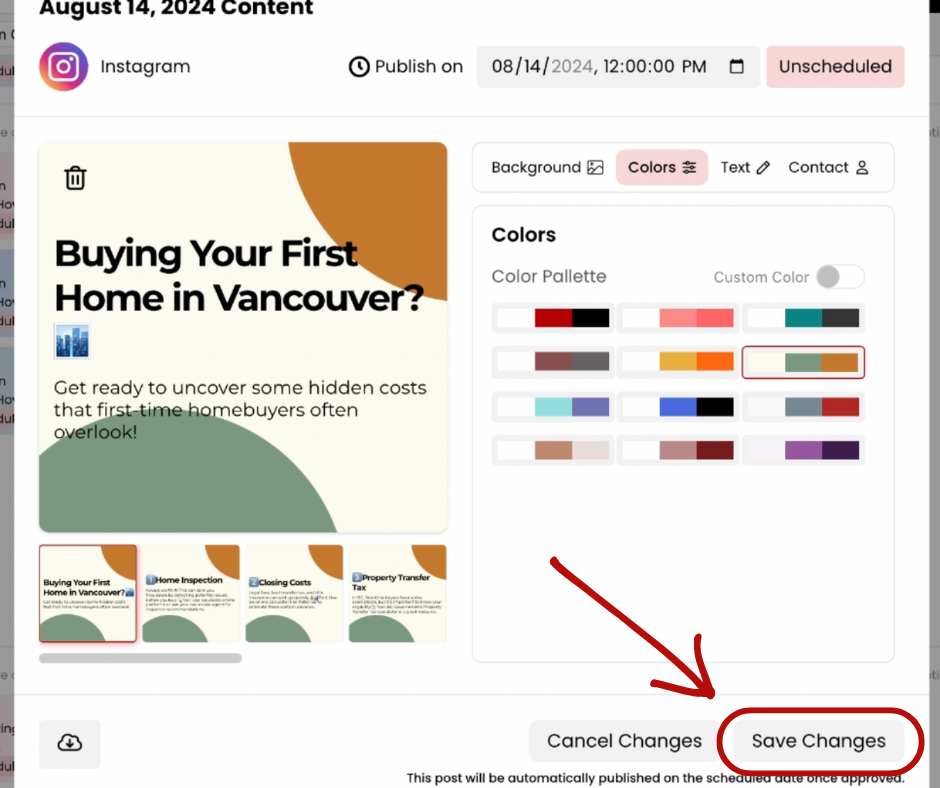
- Apply Preset Colors:
- The chosen preset colors will apply to all future posts but not to any existing posts.
Adding Custom Colors
Edit Template from an existing post
Click on an existing post and find the button labeled “Edit Template” underneath the post preview.
Select Custom Colors:
Go to the “Colors” section and select “Custom Color.”
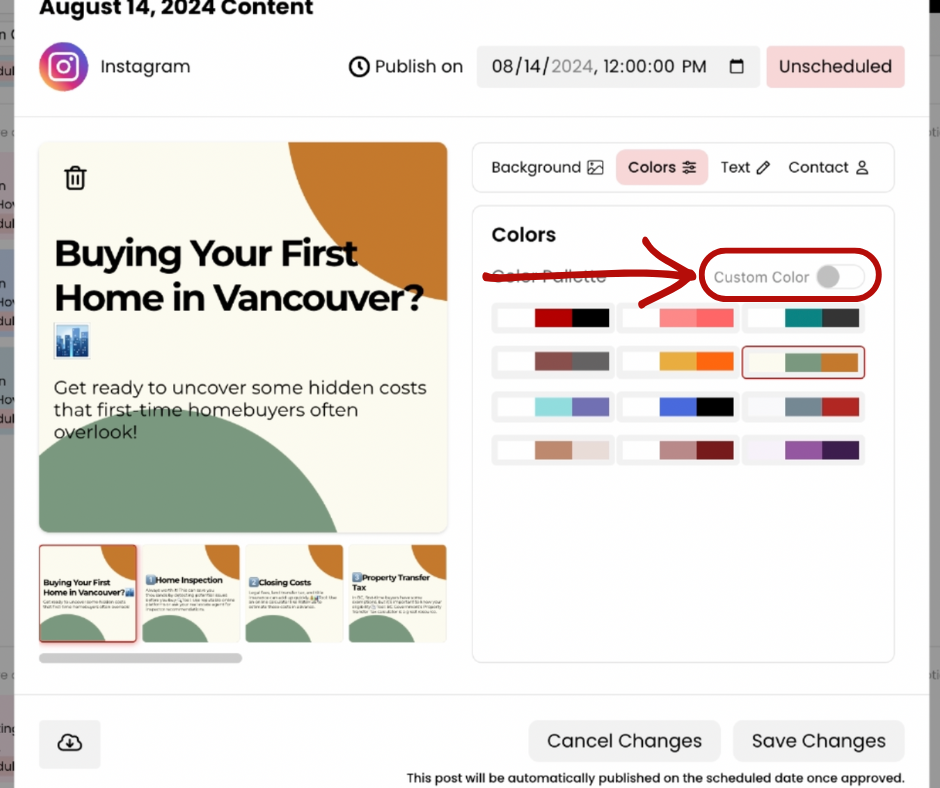
Enter your custom hex codes. You can copy and paste them or type them directly into the color fields.

Save Custom Colors:
- After entering your custom colors, click “Save Changes.”
- Your custom colors will now be applied to the current post and any posts you generate after.
Important Notes
- Existing Posts: Custom colors do not update existing posts on your content calendar. For instance, if you add a turquoise from your branding guide to a new custom palette, existing posts will remain unchanged.
- Future Posts: Any new posts created after setting your custom colors will automatically include the updated color palette.
Need More Help?
For further assistance, email us at support@realestatecontent.ai
Ready to make social media easy? Subscribe to RealEstateContent.ai by clicking here.